aLL tEXTURE TYPES
Texture Repair
- Wall Texture
- Ceiling Texture
- Hard to Match Textures
- Painting & Trim Installation
Quote Form
Wall & Ceiling Texture Application & Repair
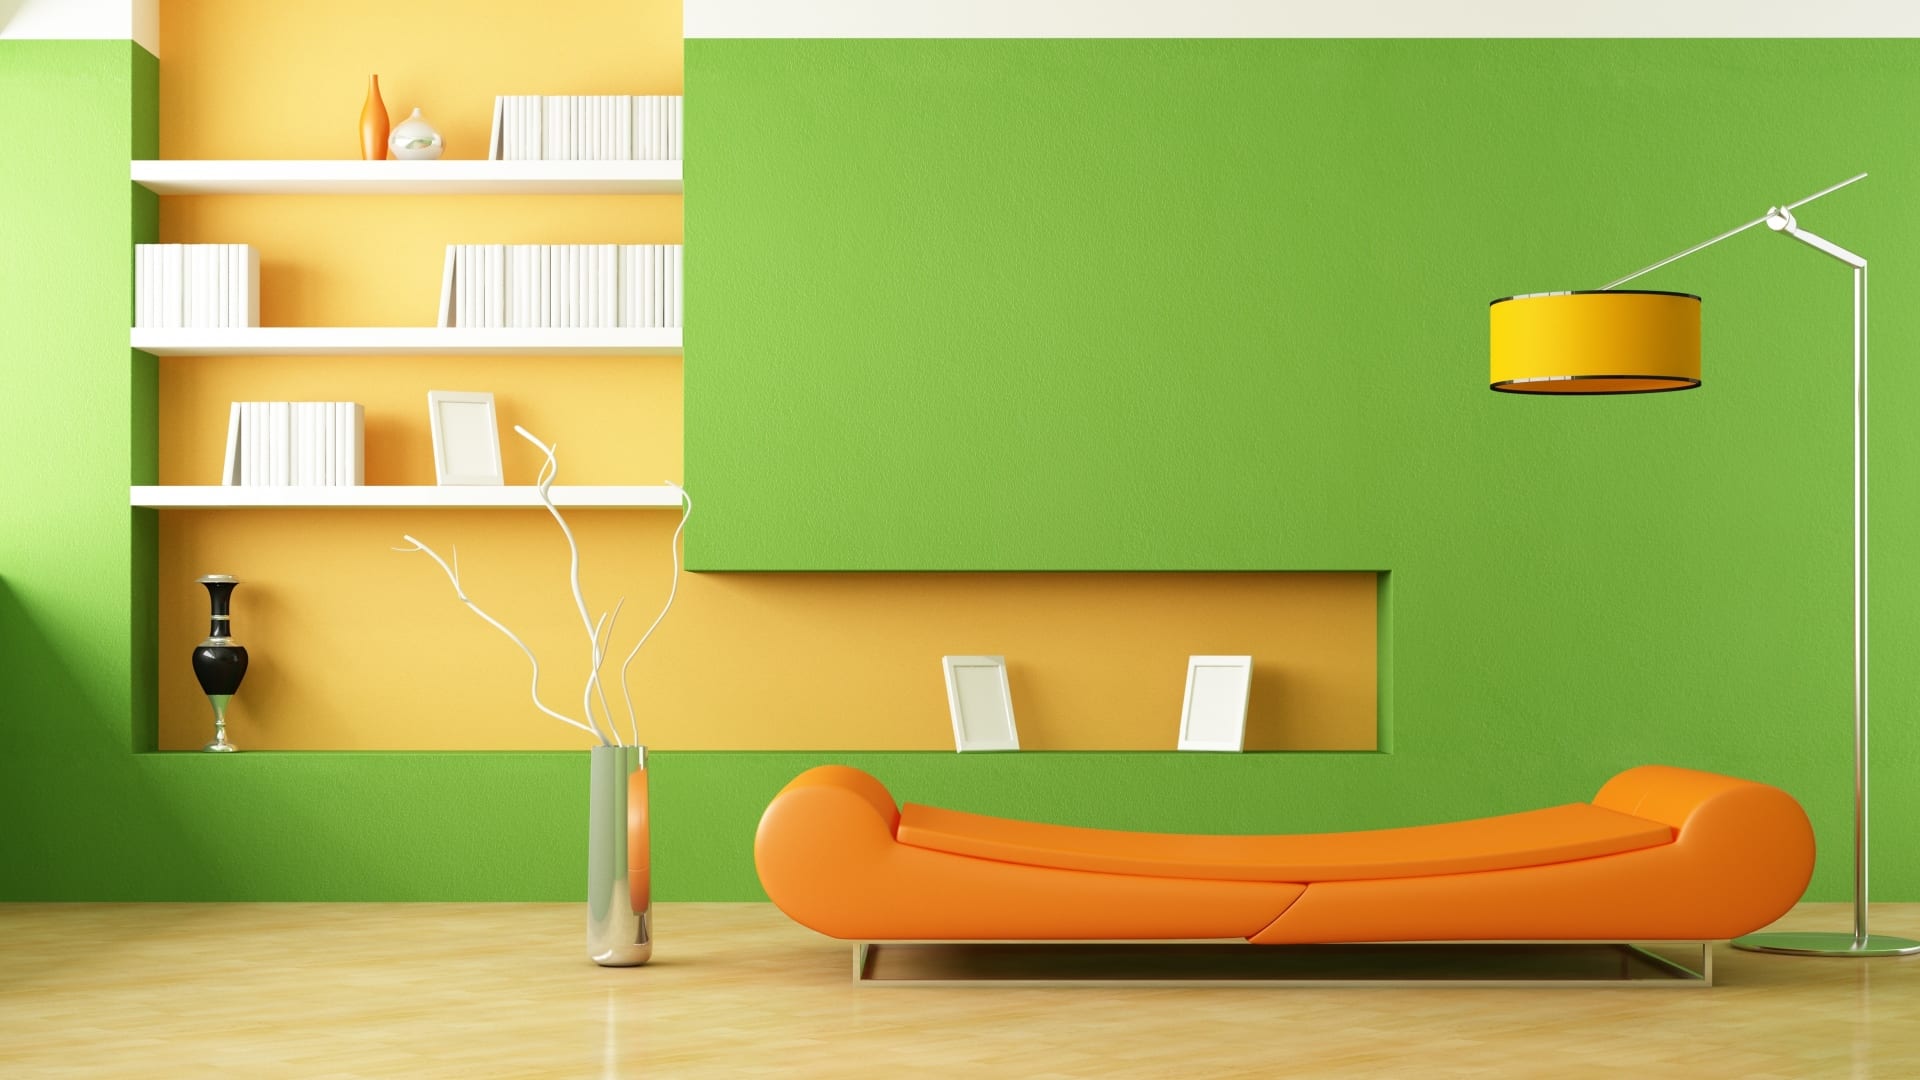
One of the best things about drywall walls and ceilings is their sheer customisability. With a huge range of texture and finish options available, you can turn a drywall surface into one that reflects your taste and style.
Here at Drywall Repairman, we offer the complete range of drywall finishes. Whether you are looking for an orange peel texture, a knockdown ceiling, a skip trowel finish or the good old popcorn ceiling, we have got you covered.
Drywall finishes require a good degree of skill, so you will need the services of a professional to have them applied to your walls and ceilings. This is especially because specialised equipment and techniques are used in applying the drywall mud.
To give you an idea of the various drywall textures and finishes, here’s a quick rundown of the popular types of textured ceilings and walls. We have also included notes on the equipment that is typically used for each finish, the pros and cons as well as the best method to repair a given finish.
You can take a DIY approach to texture application and repair. Alternatively, you can give us a call and let us handle the job. Drywall Repairman professionals are experts in texture application techniques and can seamlessly repair all kinds of drywall finishes with perfect texture blend. We offer our texture application and repair services in the Vancouver, BC, region.
If your drywall wall or ceiling has a blemish, a stain, a crack, a hole or virtually any other problem, give us a call and we will repair and restore it with perfection.

Knockdown Texture
One of the most popular drywall finishes is the knockdown ceiling texture. It has a somewhat bumpy texture so that the drywall mud is sprayed on to a surface as small droplets or globules. Once the globules dry, a knife is used to knock down their tops and give them a more even look. This is why the texture is known as a knockdown finish.
How to apply Knockdown
The real magic of the knockdown texture is in the consistency of the drywall mud. Water is added to the mud to give it a soupy consistency. Once this consistency is achieved, you have two methods of applying the mixture to a wall or a ceiling.
Using a trowel: The traditional method of applying a knockdown texture involves the use of a good old trowel. You need to make sure that the drywall mud is applied to your target surface before it becomes dry. Once the mud is applied and it dries, you can then use the trowel to knock down the stalactites or tops of the drywall droplets, giving them a knockdown finish. Needless to say, using a trowel takes considerably more time and is significantly harder. That’s why you may prefer the other method.
Using a texture machine: This is an increasingly popular method of applying a knockdown texture. A texture machine utilises an air compressor which sprays the drywall mud on to the target surface. You can tweak the pressure of the air when using the texture machine. The machine sort of splatters the mud on a wall or ceiling. Once dry, a knockdown knife is then used to achieve the final finish.
Equipment you will need:
Trowel
Spray machine
Air compressor
Knockdown knife
Mixer tool to mix drywall mud
Pros and Cons of Knockdown
One of the most overwhelming advantages of the knockdown texture is that it is the perfect way to hide imperfections on walls and ceilings. If a surface has imperfections, restoring it using other methods like repainting can cost a significant amount. In contrast, applying a knockdown texture is incredibly affordable and costs a lot less. At the same time, it effectively takes care of the imperfections like stains or discolouration. A knockdown ceiling also dampens the noise off a wall or ceiling by giving it a more cushioned surface.
The downside to the knockdown finish is that it is fairly outdated. Not many people choose this texture anymore and it is preferred often for its affordability rather than its aesthetics. A knockdown texture is also harder to repair or clean and is not suitable for smaller spaces such as kitchens or bathrooms.
How to Repair Knockdown
A crack or holes in the knockdown ceiling or walls can be unbecoming and mar the looks of your interior space. In such a case, you can perform a repair on your own or hire the services of a professional company like Drywall Repairman.
The repair actually includes two steps. In the first step, you use a drywall compound or caulk to fill in the crevices, holes or cracks. Make sure you remove some of the texture around the damaged area. Once the drywall compound or caulk is dry, sand it to achieve a decently smooth surface.
Next, apply a coat of primer to the repaired area. And finally, use a sprayer to apply the drywall mud to the repaired surface. Once the mud is dry, you can use a knockdown knife to remove the peaks.
The hardest part in repairing a knockdown texture is achieving a finish that matches the rest of the surface. This can be very tricky. If you wondering how to redo knockdown texture, the good news is that you can rely on our in-house experts.
If you are having a hard time with knockdown repairs, get in touch with us. We serve the entire Vancouver region and Drywall Repairman pros will be with you in no time.


Stipple Texture
Stipple is another drywall texture that is closely related to the knockdown finish. Unlike the knockdown finish where the raised points are flattened using a knife, the stippled features the raised ridges and peaks. The end result is a stippled finish which gives a surface an uneven look.
How to apply stipple texture
Applying a stipple texture is quite similar to applying a knockdown texture. That being said, stipple texture is easier to apply in comparison as you don’t have to knockdown the dried mud.
To apply a stipple texture, mix the drywall mud. You can use a drill with a mixer attachment to achieve the right mud consistency. Once the mixture is ready, you can apply is to the wall using a stipple brush or a spray machine.
If you use a spray machine, apply the mixture to the wall and then use a special stipple brush on the surface before the mud dries. This creates the unique stipple effect. Alternatively, you can directly use a brush to apply the stipple mixture to the wall. This can be messier and is recommended only for the pros.
Equipment yo t you will need:
Drill with mixer attachment
Spray machine u will need
Drill with mixer attachment
Stipple brush
Spray machine
Pros and Cons of Stipple
A major advantage of using a stipple texture is that it hides imperfections very well. It is particularly useful for ceilings which have a lot of repairs or an uneven look. The stipple finish will completely hide these imperfections.
That being said, the downside to the stipple texture is that it can gather up dust very quickly. For this reason, it is also harder to clean and maintain. And it is quite hard to recreate on your own in case you need repairs. A stipple texture also makes a surface duller compared to a smooth finish. So it can have the effect of making indoor spaced darker.
How to Repair Stipple
If a stipple ceiling has stains, discolouration or other imperfections, use a sponge to wet and remove the stipple in the damaged area. Next, look for cracks or holes that need to be filled. You can use a drywall compound or a caulk for filling purposes.
After filling in the holes or cracks, remove the excess material and let it dry. Sand the area upon drying and prime with a single coat. Now the repaired portion is ready for the final touches.
A difficult part of repairing a stipple ceiling is matching the texture of the repaired area with the rest of the ceiling. You can practice on a spare piece of cardboard to see if the texture is right before applying it on the repaired patch.
Alternatively, you can contact us to do the job for you. Here at Drywall Repairman, we specialise in seamlessly repairing stipple ceilings and walls. Contact us to get a same-day response and a free quote. If you are wondering how to make a drywall patch blend in on a stipple ceiling, look no farther.
Popcorn Texture
When textured ceiling started to become an interior décor style, popcorn ceilings led the way. The popcorn texture was fairly popular back in the 80s and even 90s but has gone out of style of late. Still, many renovators choose popcorn ceilings for the fact that they provide a quick way of hiding imperfections and achieving a new-like finish for a surface.
However, popcorn texture is increasingly preferred only in repair and quick renovation projects, with most homeowners preferring the aesthetics of other types of textures.
How to apply Popcorn Texture
You can apply the popcorn texture much like you would apply any other drywall texture. Get the popcorn ceiling mixture from your nearest store, such as Home Depot. Add water to the mixture in a bucket and mix well using a drill with a mixer. Check the consistency to see if it works fine for a popcorn ceiling. To be sure, you can pour some of the mixture into the spray gun and test-run it on a sample piece of cardboard.
Once you have the right consistency, it is time to apply the mixture to the ceiling. If the ceiling is not already primed, wipe it using a wet cloth and apply a coating of the primer. This will ready the ceiling for the popcorn texture and give it a more even look.
The corners and edges of the ceiling can be hard to reach. Use a trowel to make sure the mixture reaches these areas as well.
It’s important to note there is no standard look of the popcorn texture. Some popcorn texture applications may look denser while others may have a more sparse profile. Go with whatever you prefer but make sure that the style you choose is consistently applied all across the ceiling.
Equipment you will need:
Mixing bucket
Drill machine with mixer
Spray machine
Trowel
Pros and Cons of Popcorn
Although the popcorn texture has gone out of the style, it is still used at many interiors for the advantages it offers. For a start, applying a popcorn texture is incredibly affordable. In fact, it is more affordable than a paint job in many cases. Plus a popcorn texture is quite easy to apply, so a homeowner or a contractor can do it on his own.
Another notable advantage of the popcorn ceilings is that they offer noise-dampening qualities. By blocking out the noise from the upper level, they are a good finish choice for multi-storey structures.
On the downside, popcorn ceilings look very dated and old. They also gather up dust quickly and are hard to clean. Another disadvantage is that popcorn ceilings can be very hard to repair and match.
If you are planning a popcorn drywall ceiling repair, be sure to read the next section below. We would highly recommend you to hire the pros as they can repair and restore the ceiling perfectly.
Here at Drywall Repairman, for instance, we have in-house experts who handle such repairs on an everyday basis. Given their experience, they can perform a popcorn ceiling repair and match the repaired area perfectly with the rest of the ceiling.
Popcorn Ceiling Repair
If your popcorn ceiling has incurred any cracks, holes or other type of damage, it needs to be repaired. The first step in repairing a popcorn ceiling is to take a wet cloth and wipe the damaged surface.
Alternatively, you can spray hot water on the affected area. The goal is to make the drywall soft so that it can then be easily removed.
Once the drywall is removed, use a putty knife to apply drywall joint compound in the holes, cracks and other damaged areas. Let the compound dry, sand for smoothness and prime with a coat of paint.
You are now ready to apply the popcorn texture to finish the repair.
However, applying the popcorn texture is the hardest part. You can do it manually using a spray gun or you can use a spray can. When you hire Drywall Repairman, our professionals use a spray gun to achieve a perfect texture that seamlessly blends with the rest of your ceiling.
If you are going to use a spray can, make sure you test it on a sample surface before applying it to the ceiling. Use sweeping, side-to-side movement to apply the spray can to achieve a more even finish.

Skip Trowel
A skip trowel texture is marked by irregular surface patterns. It can vary from one ceiling to another but the one thing that is common is that it has to be applied by hand. This is why it might take longer to apply on a surface, although the application process is less messy.
Unlike popcorn ceilings, skip trowel remains a mainstay of modern ceilings. This is because of the artsy, aesthetic finish it brings to a surface. Creating a skip trowel texture on a wall or a ceiling is somewhat different than applying other textures. Here’s a quick rundown of how to apply this texture.
How to apply skip trowel
Before you can create a skip trowel texture on a wall or a ceiling, make sure you have cleaned the target surface and primed it with a single coat. Next, mix the drywall compound with adequate amount of water to achieve the right consistency. Test the mixture on a sample surface before moving on to the wall or ceiling.
Now, the first step in creating skip trowel is to simply apply the drywall mud to the surface. This should typically be done using a trowel. You can carry the mixture in a mud pan to easily retrieve it using a trowel.
Once the mud is applied to the surface, use the trowel at an angle to scratch the mud to create dashes and spaces. Make sure you use the same angle across the entire surface. This creates a consistent skip trowel texture. The angle and frequency of the trowel in creating dashes also determines the aggressiveness of the overall texture.
Equipment you will need:
Mixing bucket
Mud pan
Trowel
Drywall Knife
Pros and Cons of Skip Trowel
The stand-out advantage of a skip trowel finish is the looks it brings to any surface. A skip trowel texture truly looks like a piece of art and is a perfect finish for old homes as well as new and modern homes. Creating a skip trowel is also less messy and requires less prep time as it is applied by hand. It can also conceal surface repairs and damage quite effectively.
On the downside, a skip trowel texture may cost more as it is hand-applied by an artisan. It is also harder to recreate the skip trowel finish when doing repairs on a part of the ceiling or the wall.
How to Repair Skip Trowel
The first step is to determine the cause of damage to a skip trowel wall or ceiling. In many cases, the damage is related to leaking or seeping water. Before you can repair the skip trowel surface, you need to identify the source of water-related damage. Once the source is resolved, remove the previous coating of the drywall in the damaged area. Use a wet cloth or hot water spray to soften the drywall mud before removing it quickly.
Next, fill in any cracks or holes with the joint compound. Finally, sand the surface and apply a coat of the primer. It is now time to recreate the skip trowel texture.
As mentioned above, skip trowel texture varies from one surface to another, depending on the professional who applied it. So it can be hard to recreate and exactly match a texture. Here at Drywall Repairman, we offer skip trowel texture application and repair services. We seamlessly repair skip trowel surfaces and match the texture thanks to our in-house artisans and experts.
If you want to take a DIY approach to repairing a skip trowel surface, make sure you practice creating the pattern on a test surface before you actually try it on the repaired area.


Orange Peel
An orange peel finish, as the name suggests, looks like an orange peel minus the colour. It is closely related to the knockdown finish except that it has a more smooth and rounded texture.
Unlike many other drywall textures, orange peel is often a preferred finish for the walls. This is simply because it has a less raw finish and is more comfortable to touch. Compared to other finishes, orange peel is also relatively easier to apply.
How to apply orange peel
Before you can apply the orange peel finish to a drywall surface, make sure you have repaired, smoothed and primed the target surface. Now mix the drywall compound with water to achieve the desired consistency and use a spray gun to apply it. Be sure to try the application on a piece of cardboard to see if it has the desired effect.
When applying an orange peel finish, remember that the aim is to have a visible but rounded texture. The splatter isn’t very spaced in orange peel and it is alright if the drywall shows through the application.
Equipment you will need:
Mixing bucket
Drill with mixer attachment
Spray gun with air compressor
Pros and Cons of Orange Peel
As mentioned above, one of the key advantages of an orange peel texture is that it is more comfortable to touch. This is why it can be conveniently applied to both walls and ceilings. Orange peel also effectively hides imperfections like tape joints and nails. You can also paint an orange peel texture to enhance it looks as it relatively more even and easier to paint.
On the downside, this type of texture can be hard to match. You can hire a professional company like Drywall Repairman to recreate the texture. Orange peel can also gather up dust more quickly compared to a smoother paint finish.
How to Repair Orange Peel
If your orange peel wall or ceiling needs repairs, you have many options for recreating the texture on the repaired area. You can manually create the texture, use a specialised brush or go with a textured ceiling repair spray. The spray can method is the easiest and allows you to quickly recreate the orange peel texture on any surface.
about us
We are a small family-run business in Vancouver BC. We are large enough to do those big jobs, yet small enough to still care. Our attention to detail is what we are known for. We are also known for doing jobs that others will not do. Regardless of the type of project you have, call us: 778-350-6433 and we can come up with a solution to suit you.
3 Convenient Locations
Why Us?

Competitive Prices
Our pricing is transparent and competitive. We do our best to be upfront with all of the costs necessary to do the best work possible.

Warranty
We take pride in our workmanship and are proud to warranty our workmanship.

Over 30 Years Experience
Nothing says commitment like longevity! We are proud of our commitment to our craft and our customers.
Drywall Repair and Insurance Remediation Expertise in Vancouver, BC
We know that homes and businesses in Vancouver, British Columbia, sometimes suffer from water damage and the scene can look messy when it happens; that’s because, with a temperate climate in the city that rarely sees extreme cold, water damage can occur at any moment. Our technicians at Drywall Repairman Vancouver BC have been providing full-time drywall repair services for up to 30 years throughout Vancouver, but like any good neighbour, we understand that property owners here face unique challenges and we are eager to help.
Understanding the Impact of Water Damage
Water damage is a widespread issue that can happen to premises of any type, whether it be a house or a commercial enterprise. The city of Vancouver often gets a lot of rain, with high levels of humidity, which means water damage is a very real risk. Leaky roofs, burst waterpipes and flooding that occurs during the wetter seasons can all lead to damage to ceilings, internal walls (drywall), and other structural elements.
Beyond this damage to visible parts – the stains, the warping – there are also odours, the growth of mould and mildew, the health hazards this creates for occupants and detractors of indoor air quality, the loss of strength of structural materials as they absorb moisture, and structural issues that lead to huge costs of repair or replacement.
The Importance of Timely Remediation
Water damage needs to be remediated quickly so that the damage doesn’t get worse and secondary problems. If repairs are delayed, the problem becomes worse and will only increase the cost of repairs while also slowing down normal activities at home or business.
At Drywall Repairman Vancouver BC we know that water damage is a serious matter, requiring immediate action to stop the water source and minimise the potential damage while providing our customers with help when they need it most. Using the right equipment and appropriate techniques our experienced technicians will assess the level of damage and promptly remove affected areas for remediation and restore them to their pre-loss condition.
Navigating the Insurance Process
dealing with the aftermath of water damage can be really stressful: on that front, if you haven’t experienced it before, things such as insurance claims, failure to mitigate, total loss insurance coverage, relevant case law and your rights might seem pretty daunting.
And that’s where we come in. We have specialised training and years of experience with insurance remediation. In other words, we work for you, documenting the damage and negotiating with adjusters to navigate the entire insurance process. We ensure that our clients are awarded the maximum amount of payback.
Educating Property Owners
We don’t just want to fix your home, we want to support you so you can remediate yourself, which will lead to safer building and healthier tenants. We’ve launched educational outreach programmes and how-to content. We’re here to both help and educate.
With this action, we aim to season property owners with familiarity of common water damage causes, and empower them to take simple actions that can prevent future water damage instances.
Continued Commitment to Excellence
As Drywall Repairman Vancouver BC we always take great pride in our client relationships over our projects, because we know that your drywall problems will not last, but our relationship will.We aren’t just drywall repairmen vancouver bc, we are the drywall repairmen vancouver bc, the lowest prices and the top results will always be yours when you choose to work with us. We specialise in both small drywall repairs as well as big insurance remediation projects, we are always here to make things better.Whether you need a drywall patch done or an entire house taken apart and dried; we are here to serve you and make sure that you only get the top quality service that is offered on the market today. For any type of restoration work and drywall repairman vancouver bc our team will go above and beyond your expectations.
Drywall Repairman Vancouver BC is always striving to provide you with outstanding results.