How to Repair Your Damaged Textured Ceiling
During stormy weather, people discover quickly the integrity of their roof. Often during the rainy season, leaky roofs first show their ugly existence through unsightly stains on the ceilings. These constantly growing stains are the thin edge of the wedge and should be addressed immediately. Once you have repaired your leaky roof, you have the unpleasant task of repairing your stained ceiling. What should you do next?
Surveying the Damage
In the Bests case scenario, all you have to do is seal the stain with a waterborne sealer found in all the major hardware stores and re-paint the ceiling in its entirety with similar existing paint type and sheen level (usually flat latex in white or off-white). If you have some of the ceiling paint on hand already, then a simple spot paint and blending will do the job. That was the best case scenario. What usually needs to be done is have the water damaged part of your ceiling drywall cut out and replaced. This process Is much more involved than people first think, but is not rocket science and is very doable.
What to do First
First, you should access how much of your drywall has been swollen by the water and subsequently softened. This should be relatively quite easy to do. Simply probe the affected area with a screwdriver or something similar and then cut passed the affected area till you find solid sound drywall. Then access if there is still moister present and allow sufficient time for the ceiling to completely dry out before patching. You can use fans to assist in this process. Once you have made the determination that the area is completely dry, then you are ready for patching. resist the urge to rush this process, it is essential to a permanent fix.
Now you need to Install a piece of drywall the exact size of the hole. The proper way and easiest in my experience is to measure approximately the size of the area you are patching, then cutting a patch piece that exact size and then tracing the outline with your patch piece over the ceiling area. Then you simply cut that outlined area out with a drywall saw. You will then have the exact size of the patch to fill the hole. Backing (plywood scrap or any wood piece) is then screwed in to give your patch something to screw into. Here is a video to show you what one example looks like.
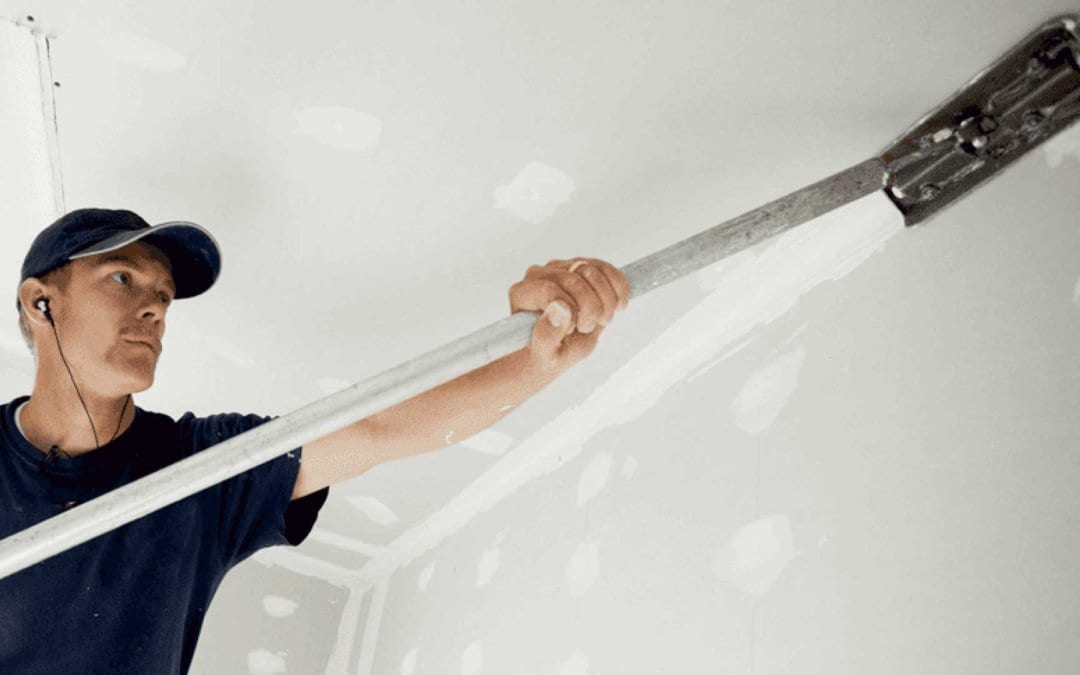
To finish off you then tape the seams and fill with drywall compound (usually 3 coats) and sand smooth. make sure the transition is smooth and unnoticeable. this is essential if you do not want the patch to show through after painting. Even if you are going to texture the ceiling, a bad patch will still show through. if you are texturing the ceiling we recommend a professional to do the job. You can find local tradesmen who will give you competitive prices for this part of the job. When the texturing has been completed. Simply Paint your ceiling with the desired paint finish to taste.